In order to make and receive phone calls in FuseDesk, you’ll need to provide microphone access in your browser.
If you’ve previously denied access to the mic, or you have it disabled for all sites, you can selectively enable microphone access for FuseDesk.
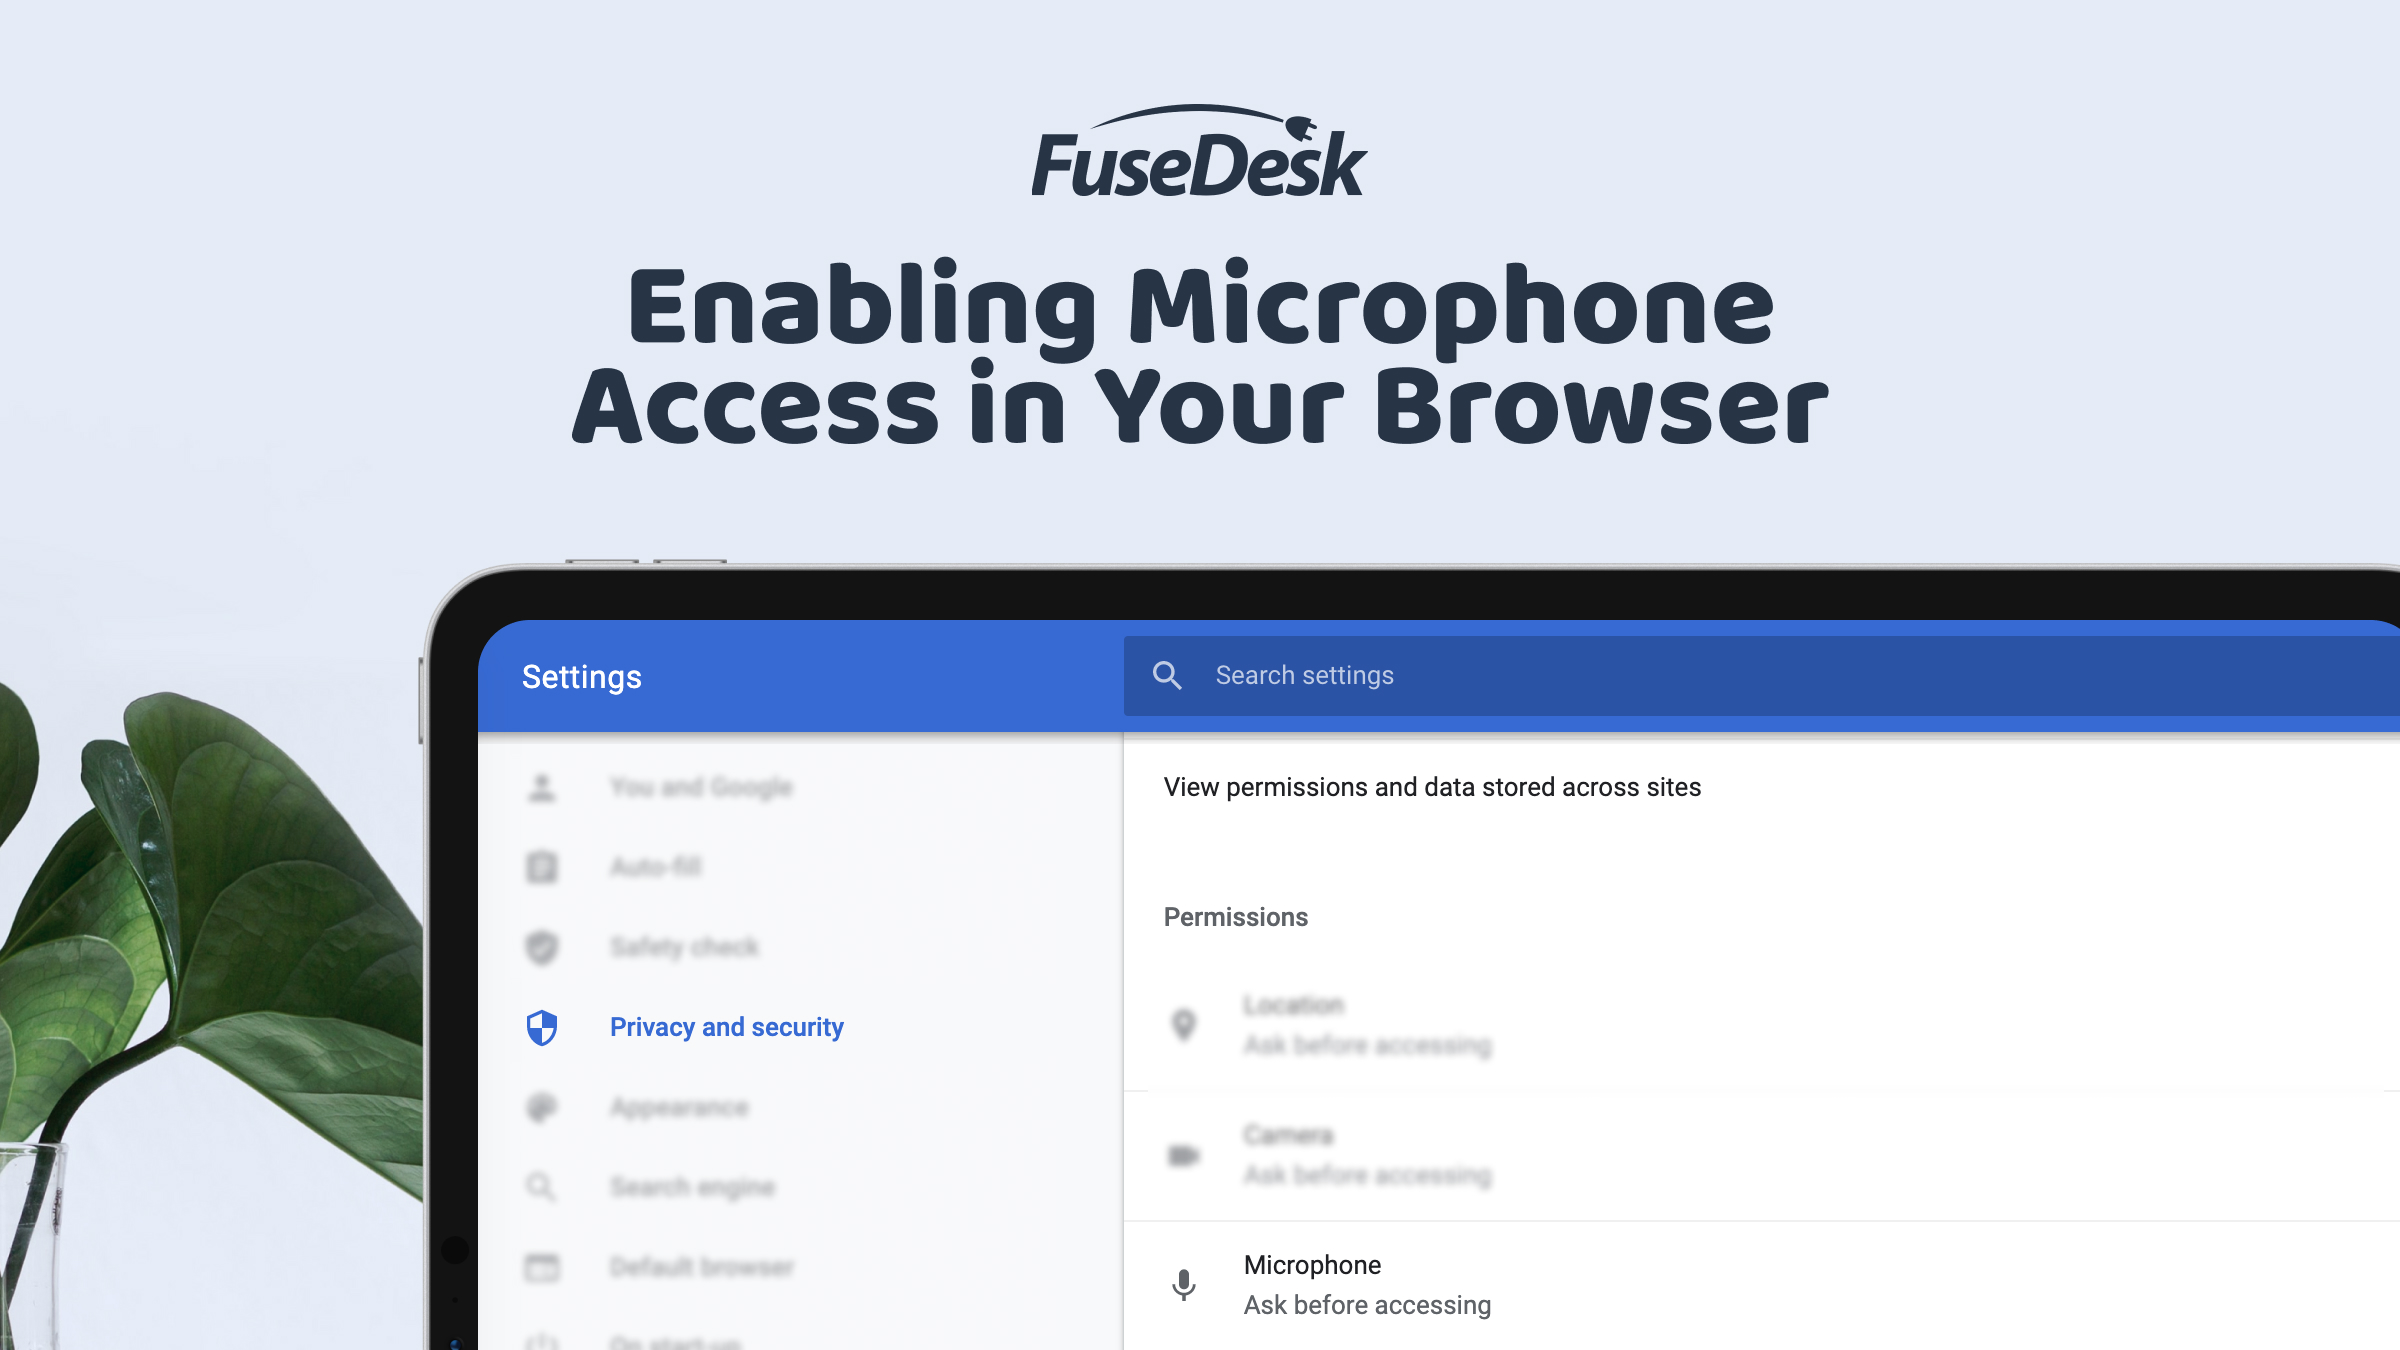
Enabling Microphone Access in Chrome
- In the top right of Chrome, click More > Settings.
- Click Privacy and security > Site settings > Camera or Microphone.
- Select the option you want as your default setting.
- Review your blocked and allowed sites.
If you’ve already blocked mic access to FuseDesk, under “Not allowed,” select your FuseDesk app’s URL and change the microphone permission to “Allow.”
Enabling Microphone Access in Safari
- Open Safari Preferences.
- Select Websites
- Select Microphone
- From the list of websites, select your FuseDesk app’s URL and change the permission to “Allow.”
Enabling Microphone Access in Firefox
- In the Menu bar at the top of the Firefox, click Firefox and select Preferences.
- Click Privacy & Security from the left menu.
- Scroll down to the Permissions section.
- Click the Settings… button for the Microphone option. Firefox displays the websites with saved Allow or Block permission.
If you’ve already blocked mic access to FuseDesk, select your FuseDesk app’s URL from the list of sites and change the status to “Allow.”
Alternatively, you can use Firefox’s address bar to provide microphone access.
- Click the permissions icon that displays in the address bar of your FuseDesk app on the left.
- Click the X next to Blocked or Blocked Temporarily to clear the status so that Firefox will ask again for permission when you next visit your FuseDesk app.