Ready to create a Zap from Zapier to FuseDesk? It’s easy with FuseDesk for Zapier.
First, log into Zapier and click to Create Zap.
You can then choose to Create a Custom Zap or start with a Template.
Create a Custom Zap
If you choose to create a custom zap, the first step will be to choose a Trigger.
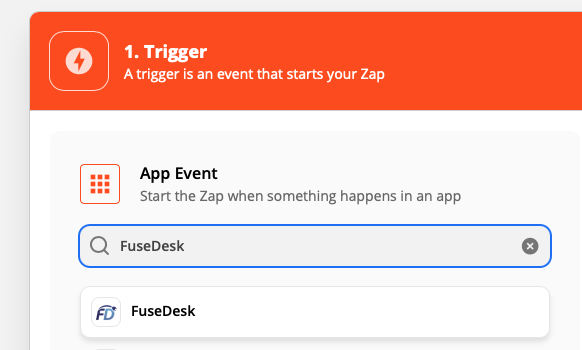
You can choose a third party app for your trigger, or, if you want to trigger an even from FuseDesk, search for and select FuseDesk.
Next, choose what Trigger you’d like, for example, when a Case is Created.
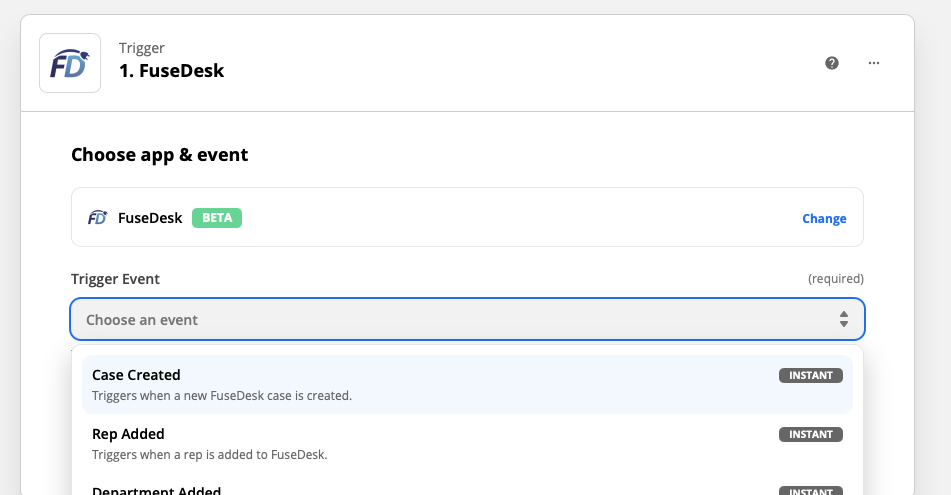
You’ll then need to either choose – or add if it’s your first time – a FuseDesk account.

Beyond triggering a Zap when a FuseDesk case is created, you can also trigger a Zap when a FuseDesk Rep is Added, a Department is Added, or a Case is Updated.
Adding a New FuseDesk Account to Zapier
To add a new FuseDesk account to Zapier, you’ll need your FuseDesk App Name and a FuseDesk API Key.
When creating your API Key, make sure you give it Webhooks permissions, and whatever other permissions you’d like Zapier to have. We recommend allowing Zapier to:
- Read Reps (So you can get a list of reps)
- Read Departments (So you can get a list of departments)
- Create, Read, and Update Cases (So you can create, find, and update cases)
- Create, Update, and Delete Webhooks (So Zapier can be instantly notified of events from FuseDesk)
FuseDesk Actions in Zapier
If you choose to run an Action in FuseDesk from your Zap, you’ll most likely be creating a new FuseDesk case.
Choose the Create FuseDesk Case Action and then complete the fields to create your case in FuseDesk.
You can also use Zapier to Update a FuseDesk Case.
FuseDesk Lookups in Zapier
Sometimes you need more info from FuseDesk in Zapier. If you know the ID of a rep or of a case you want to do something with, you can use the Get a Rep action or Get a Case action.
Remember, that if FuseDesk is triggering your Zap, you’ll already have the object in the trigger. So if you have a trigger for a Case being created, you don’t need to look up the case, as you’ll already have it in your Zap!
Zap Ideas
The possibilities are endless with what you can do between FuseDesk and thousands of other apps.
To give you a few ideas, here are some pre-built Zap Templates!